I can’t even begin to tell you the number of times I’ve been asked by photographers this simple question. When do I need to use a tripod? And when can I hand hold my camera? It’s a good question, and the answers aren’t always as simple as you might think.
Here’s why I always use a tripod.
While you don’t always need a tripod, having one gives photographers the flexibility to create the images they want to create. Tripods make it possible to create better images using HDR, panoramas, and long exposures.
Setting the camera on a rock, or beanbag can keep the camera steady enough for long exposures, but it will rarely allow the photographer to create images using the best compositions.
Tripods make landscape photography much more enjoyable, because they allow you to create higher quality images in every scenario.

Do I even need a tripod?
Let’s be real, tripods can be clunky, heavy, and take forever to set up. Tripods are also not convenient when I need to track moving subjects or be quick with changing compositions. And if you’re shooting events for clients, friends, or family, a tripod will feel a hindrance. Then, of course for street photography where you need to be discreet, a tripod is the defacto sign to go the other way because somebody is literally taking your photo right now. Not good if you want to capture authenticity.
So handheld has some serious advantages, but these are the only times when I won’t be putting at least a lightweight tripod on my back. Because I know that if even the tiniest moment arises where a tripod would have made a photo better, I’ll be kicking myself for leaving it at home.
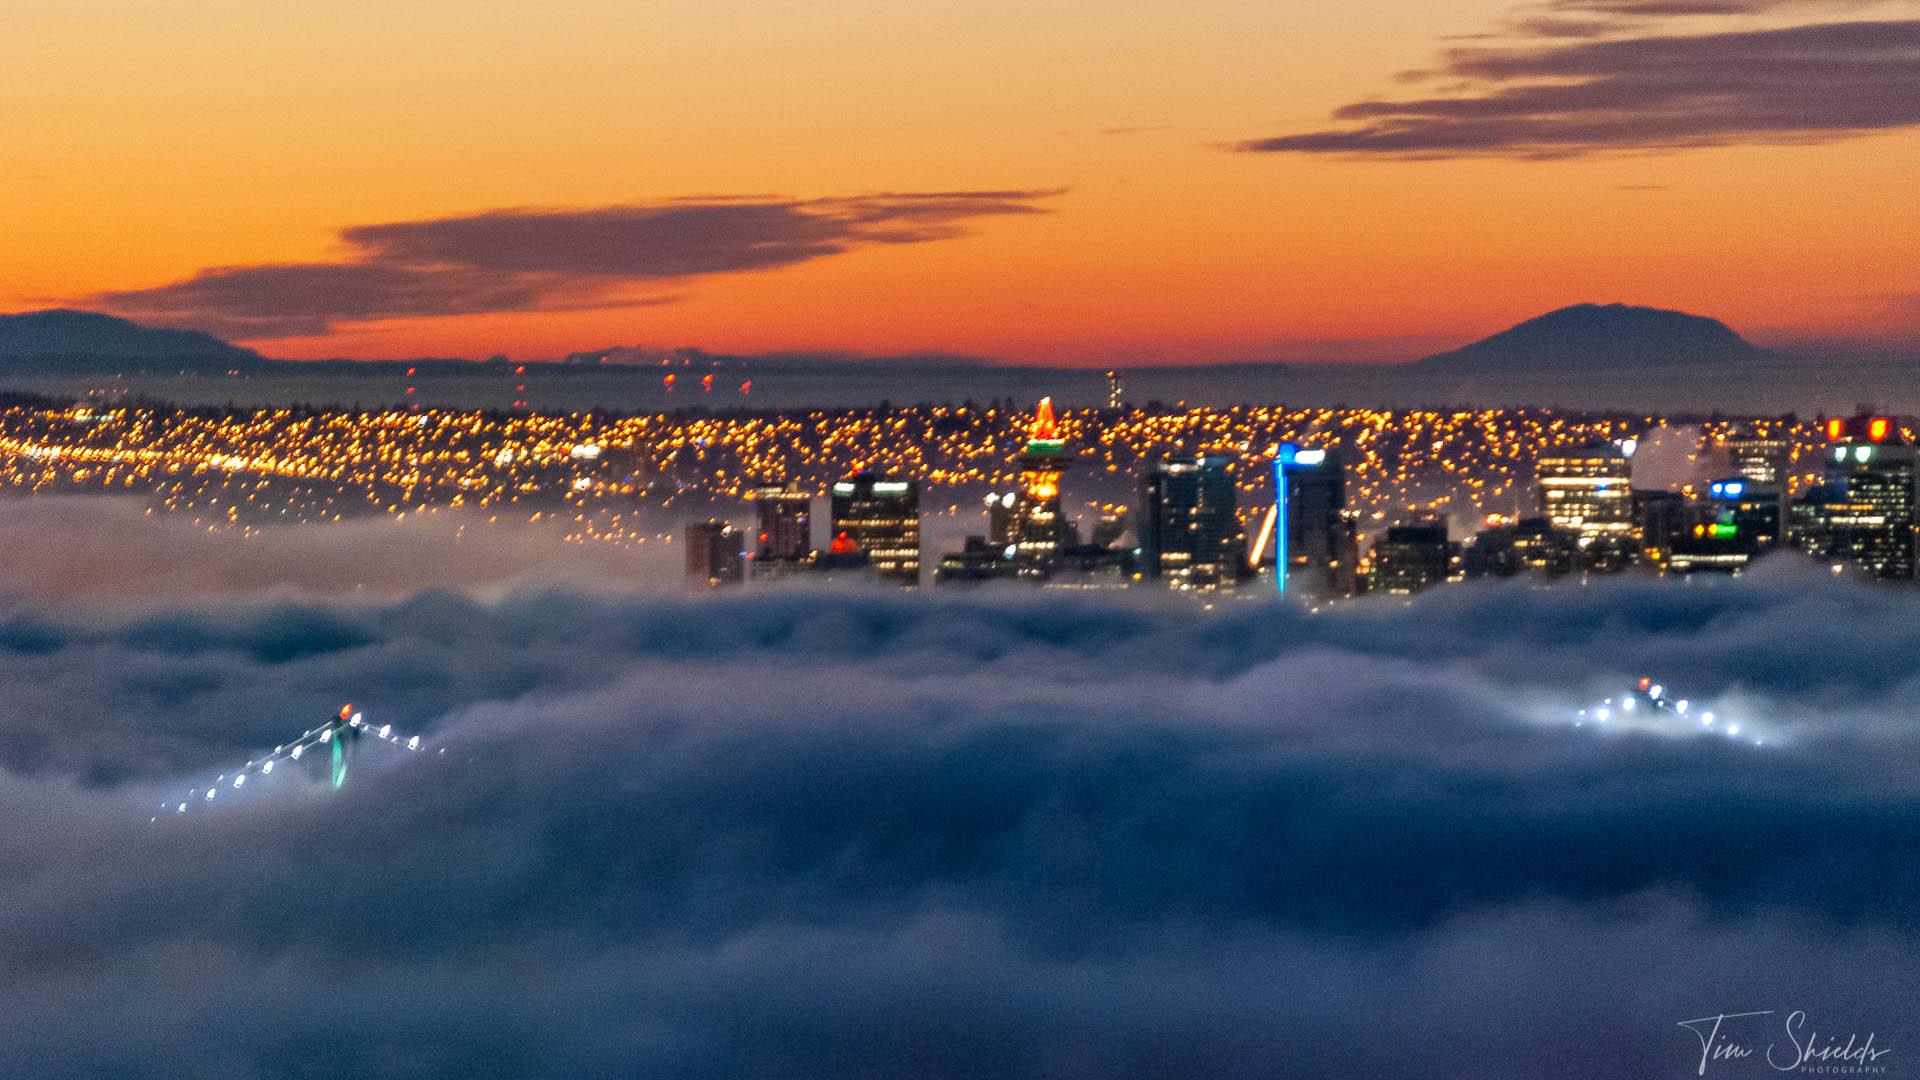
Are there times when I don’t need a tripod for landscape photography
Just because a tripod helps doesn’t mean that it’s always required for landscape photography.
The determining factor for when you need to use a tripod comes down to shutter speed. The slower your shutter speed is, the more likely you need the tripod. But the shutter speed that determines when a tripod is required depends on the lens you are using.
Every lens is different. Wider-angle lenses can get away with slower shutter speeds. But when it’s longer, you’re going to need to use a faster speed. For example, If I’m using a 70mm lens, the bare minimum I’ll go is 1/200th. And I know that there are definitely people who will say, ‘Oh, I handhold at much slower shutter speeds than that.’
But, here is the thing with the cameras. Five years ago we were able to get away with a slower shutter speed, but cameras today have sensors with higher resolutions. Higher resolution means that they are also more likely to capture motion blur. For example, you’ll notice motion blur much less on a cell phone than you will on a Nikon D850.
As a general rule, the minimum shutter speed that I recommend is one that’s twice as fast as the focal length on your lens. That means if you’re shooting with a 35mm lens, you need a shutter speed faster than 1/70th of a second to get tack sharp photos handheld. If it’s a 400mm lens, then you need a 1/800 of a second. Any slower, and it’s time to use a tripod.
What else can I do with a tripod?

Well, for one, tripods are fantastic for fending off other tourists. But when you’re not swatting people out of your way, they are necessary for many photography applications. In fact, any type of photography that requires precision will almost always involve a tripod. In some cases, you could get away with setting your camera on a rock or even a backpack. But expecting to set up the camera that way is going to mean leaving your photos up to the chance that there’s a rock in just the right place.
Another type of photography where you’ll need a tripod is when you’re shooting a panorama. It may be tempting to just take a bunch of photos from left to right handheld and hope Lightroom and Photoshop can make something out of it. Sometimes that can work. But in most cases, the photos will be stitched together with a number of holes. That’s why I use a tripod with a pan and tilt head. That way, you can easily keep the camera in line while panning left to right.
HDR photography also relies heavily on having a solid tripod. If there’s motion in the photo, you’ll end up with some weird patchy ghosting that Lightroom and Photoshop might not be able to remove. And if the details aren’t fully lined up, solid lines turn into an unsharp mess.
Isn’t HDR a curse word in photography circles?
The bad rap that HDR gets is mostly due to the way people were using this feature back when it was first popularized. The biggest benefit of photographing with digital cameras is that we’re now able to use computational photography to overcome the limitations of a single image. That being, of course, that we can’t capture the entire range of details that we can see with our eyes.
By combining photos, we get closer to making a single image that can compete with human vision. And many people used to abuse that, by taking those images and overcooking the details. The end result, being akin to an overcooked fever dream.
But HDR has some very important uses. Photographers all over the world use it to bring back the details that are lost in the over-exposed highlights. One example is architectural photographers. The light inside a home is much weaker than the light outside, meaning that a properly exposed interior photograph will always lose the highlight details in the windows. And that remains true even with the best, most expensive cameras in the game. So combining multiple exposures means that a photographer will be able to bring back the outside detail from the windows, giving the images a sense of place.
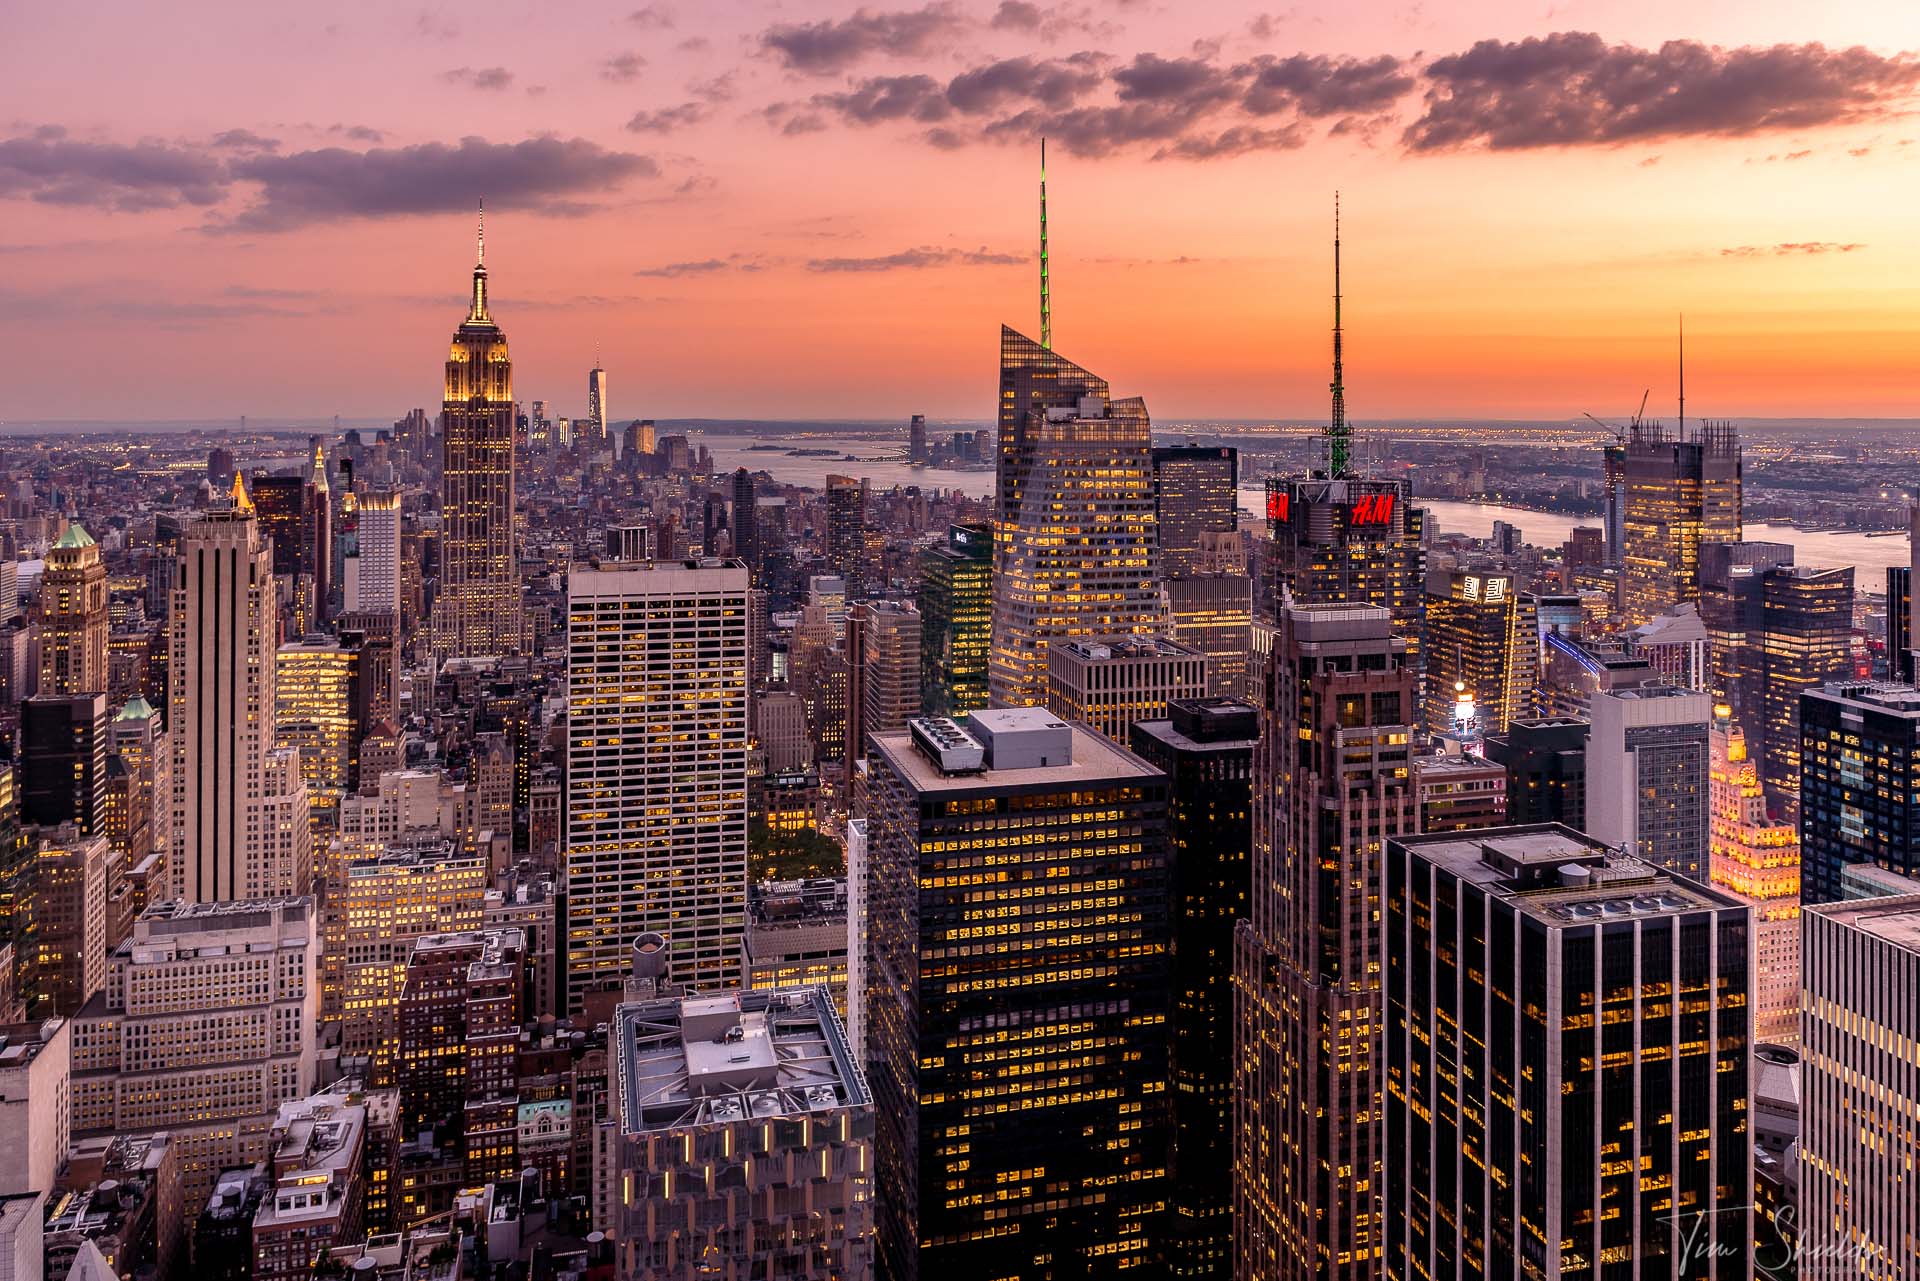
Another time when HDR photography can make a photo better is when photographing sunsets and sunrises. At this time of day, there are brilliant colors reflecting off the clouds, and much of the foreground is dark. So a single exposure is typically unable to capture all the dynamic light in the scene. By combining three photographs, photographers are able to contain all of that light in a single, stunning image.
I’m using a tripod, but my photos are still blurry?
The first diagnosis is that your tripod is too light for your camera. If your camera is too heavy, small vibrations at the base or gusts of wind can make the tripod move. When you’re taking long exposures, even the smallest amount of camera shake can ruin an image
The easiest change to fix the camera shake on a tripod is not to extend it to its maximum height. If you keep the tripod lower to the ground, you’re using only the sturdiest parts, which will better resist vibrations.
Some tripods also have a hook on the bottom for attaching a weight, or sandbag. Bringing weights along is fine if you’re driving to the location shoot. But if you’re hiking and aren’t a masochist, you can always just attach your photo bag with the lenses in it. Just make sure the tripod isn’t ready to fall off the far side of a cliff.
Next: did you touch your camera? Even pressing the shutter while the camera is on the tripod will introduce camera shake. After years of trying, I’m still unable to press the shutter without moving the camera. Fix this by setting a timer. Most cameras have a two second timer so you can press the shutter, stand back, and wait for the camera to finish before touching it again.
Was there wind, or did you have any loose straps? Anything loose dangling from the camera can introduce shake. Get rid of them. If it’s too windy, try blocking the wind with your body, or find a small alcove to get out of it. Sandy beaches are also fantastic for stopping little vibrations in the ground — with the added bonus that you can use the water as a reflective foreground for your image.
Last check, Was your camera in focus? This is a bit more obvious, but especially if you’re doing night photography using manual focus, it’s very easy to have the camera just slightly out of focus. Fix this by using Live Mode and zooming in on the area with the most contrast, or the brightest star in the sky. It can take a couple of tries, but once you get it, don’t touch that focusing ring.
When should I buy a better tripod?

Buying a cheap tripod will hold you back in the long run. Personally, this is one area that I always suggest investing in upfront. Because purchasing a cheap one is more likely to hold you back.
If you’re just starting out, get a tripod that you can grow with. Unlike camera bodies, tripods don’t degrade over time — one that’s solid today will still be solid in 20 years. And You’ll always find more uses for it and be thankful you spent the money early. Here’s everything I look for when purchasing a new tripod.
And when you’ve done all of this right, you’re going to get an absolutely tack sharp photo. It is the result of years and years and years of battle-tested techniques that I have used by trial and error in the field. And I think you are going to love it.
Where can I learn more?
 If you liked the tips I have here, there’s plenty more in store on my Tack Sharp Photography guide. These articles are meant to give you the fundamentals so you can get out there and shoot stunning images. But there’s always more to learn than I can put in a single article. In fact, we didn’t even really get to the cool things you can do with a tripod! The tack sharp photography guide — now 40% off for a limited time! — has many more in-depth tips and tricks that I’ve learned over the years to build my library of Fine-Art photographs.


