Digital imagery makes it so easy to brighten shadows to reveal hidden details. Back in the film days, because of the way silver captures negative images, there wasn’t much detail to be found in the dark parts of images. That meant having a light in front of your subject was essential when shooting indoors. But now that the world has gone digital, capturing positive images, we have the opposite problem.
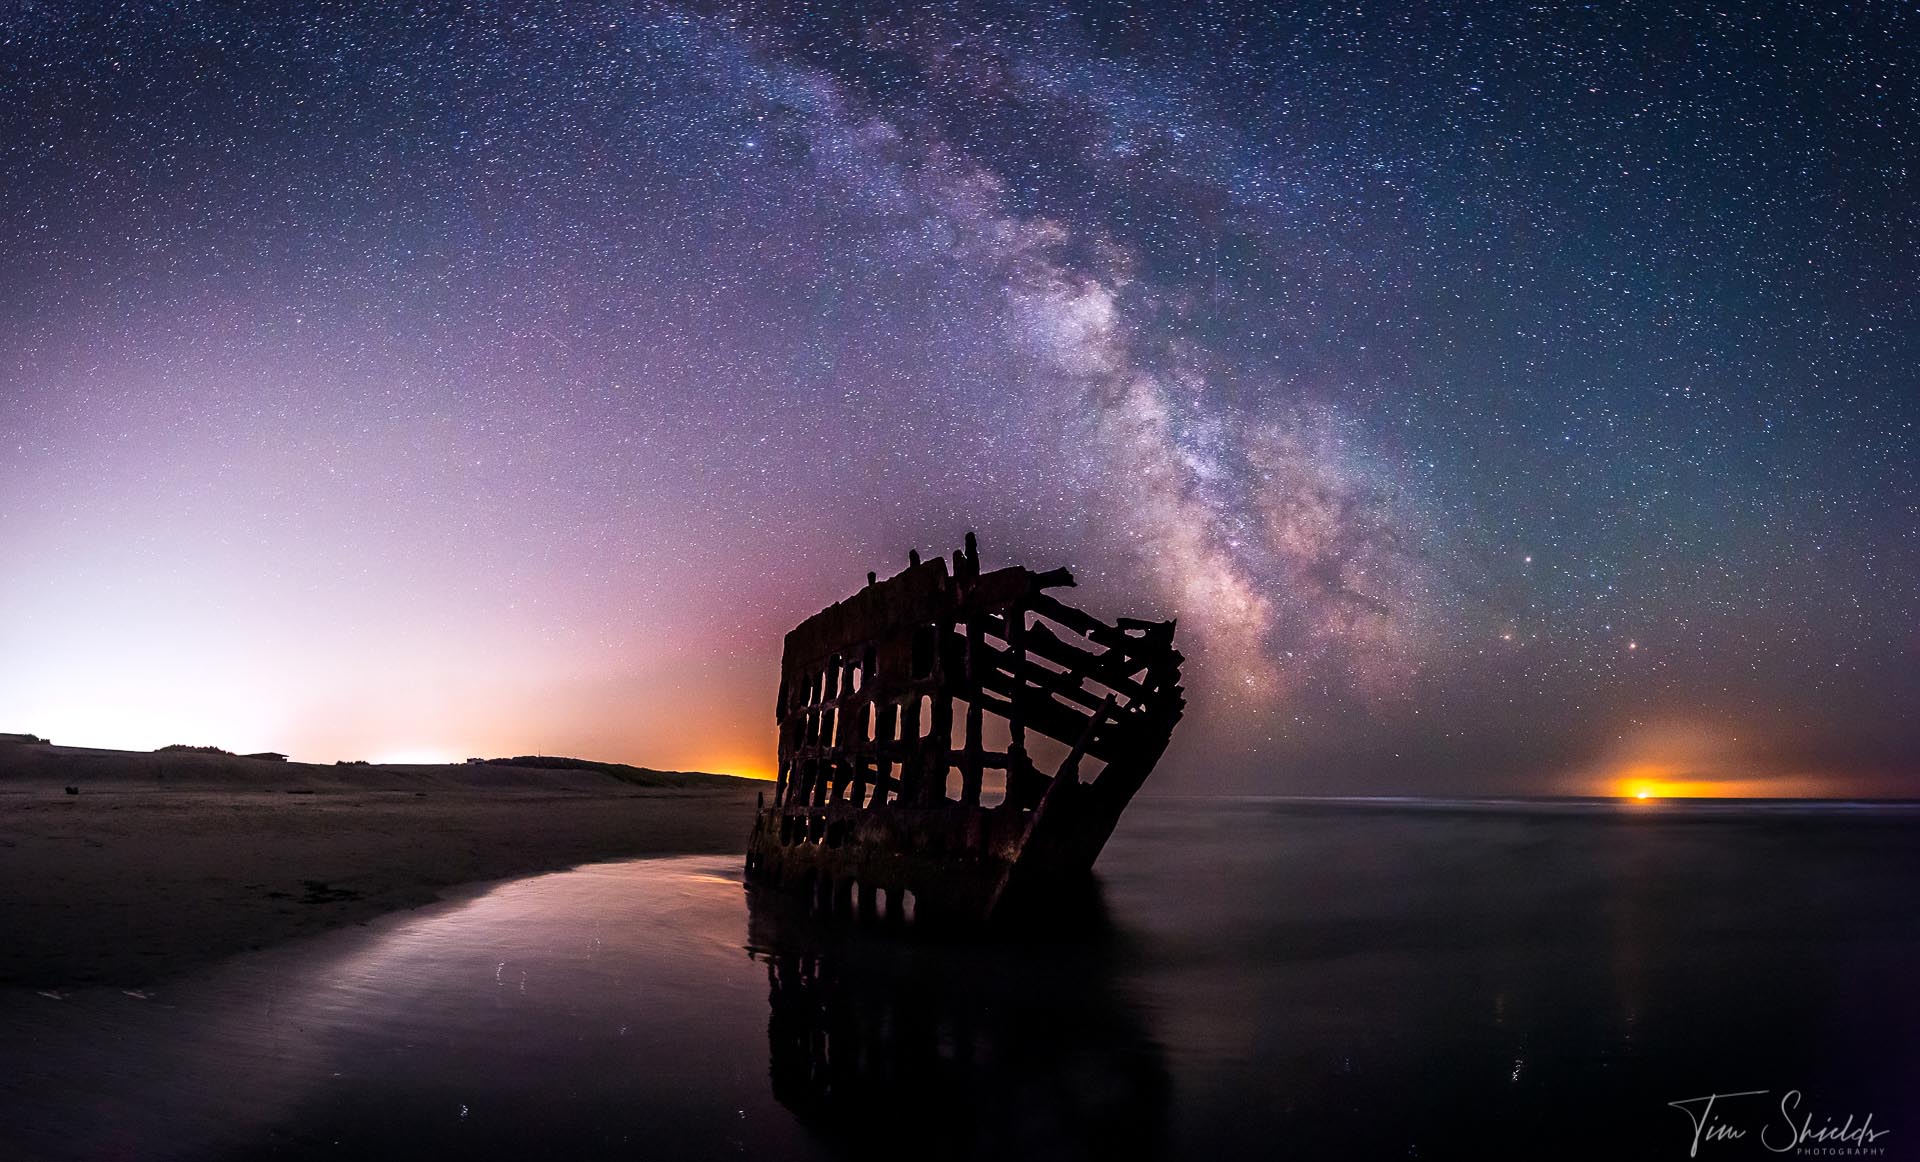
There is a lot of freedom to brighten shadows in post-processing applications like Lightroom. But going extreme can make images look weird. This is for 3 main reasons:
- Cameras render shadow colors more pastel-like than saturated bright colors
- Bringing up the shadows increases visible ISO noise in those areas
- The shadows play a very important role in image contrast
The fact is that the human eye can’t actually see that much detail in shadowy regions of an image. Meaning, shadows play an extremely important role of bringing our attention to the highlights. Just like negative space brings attention to the subject. But there’s a right way to do it — and a way that’ll make your images look flat, weird, and incomprehensible.
Of course, the easiest answer is to get it right in camera. But if you did that every time, guides like this wouldn’t exist. So here I’ll go over some tips that I use in every one of my photos.
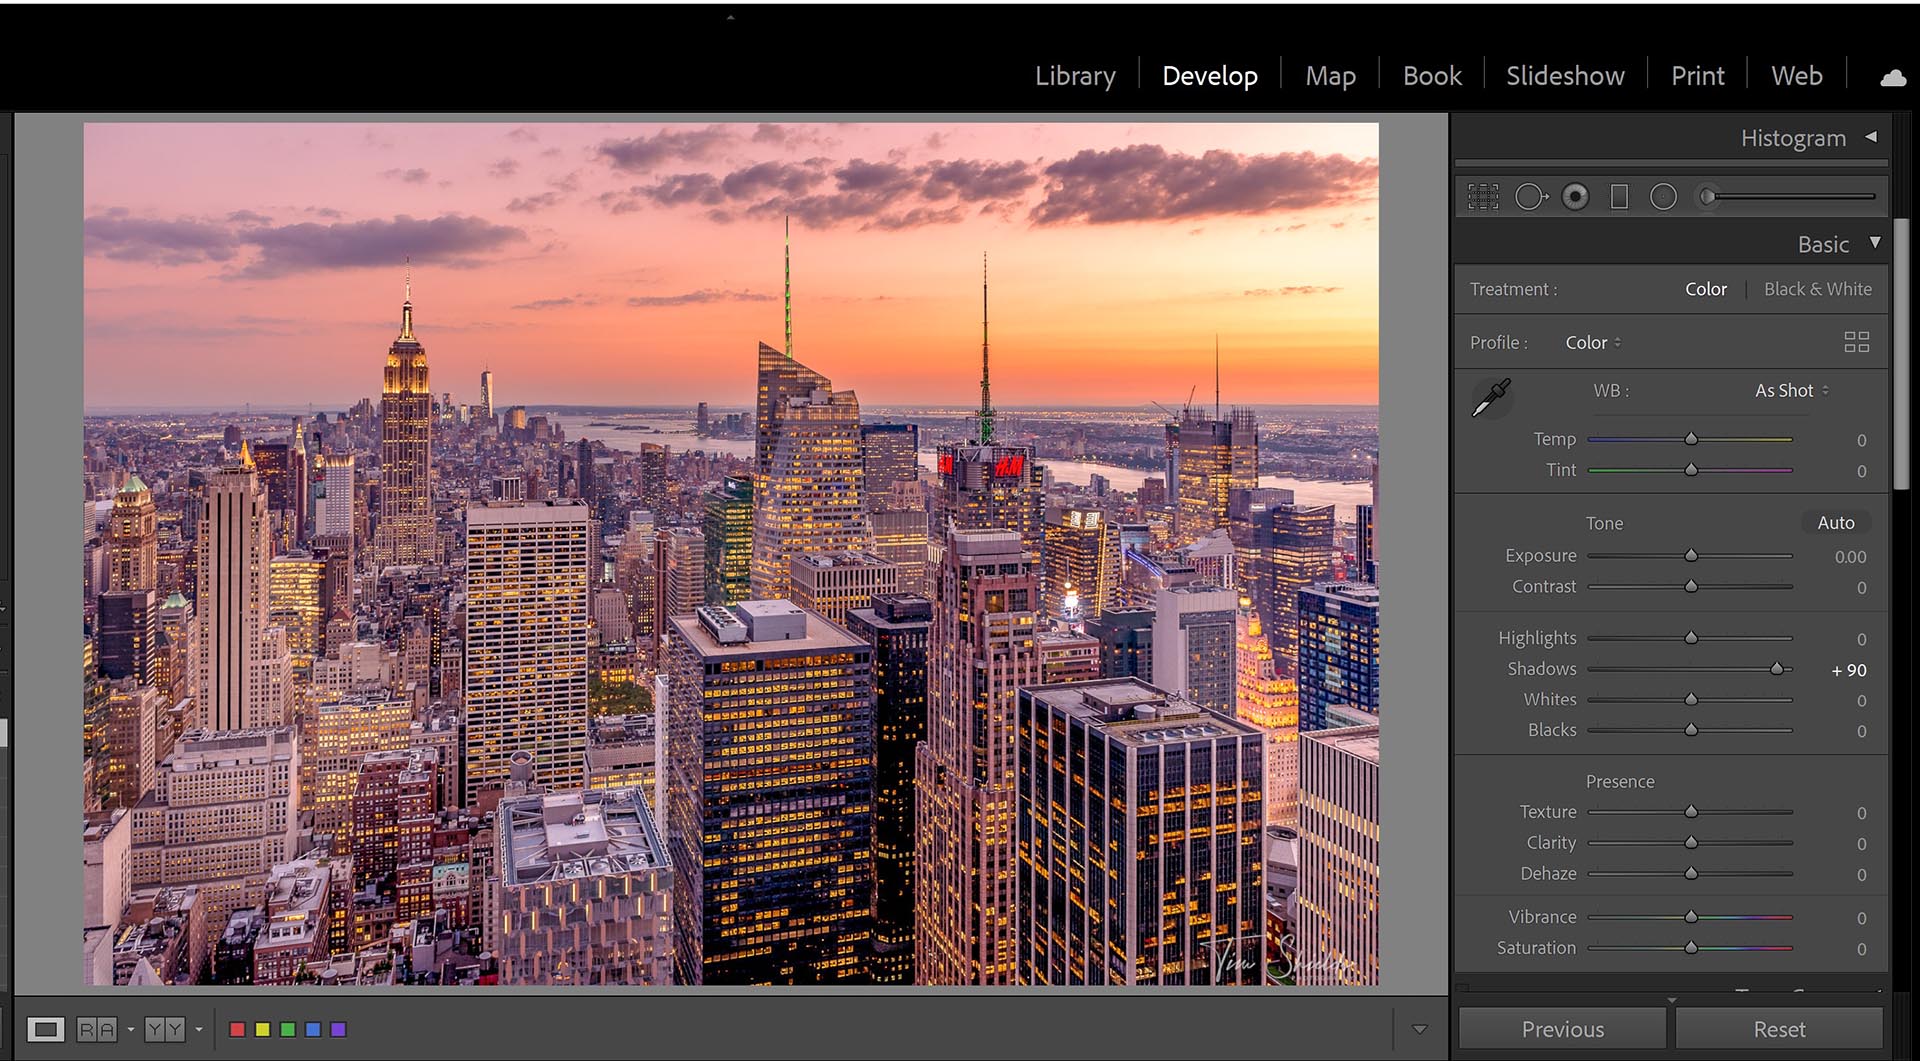
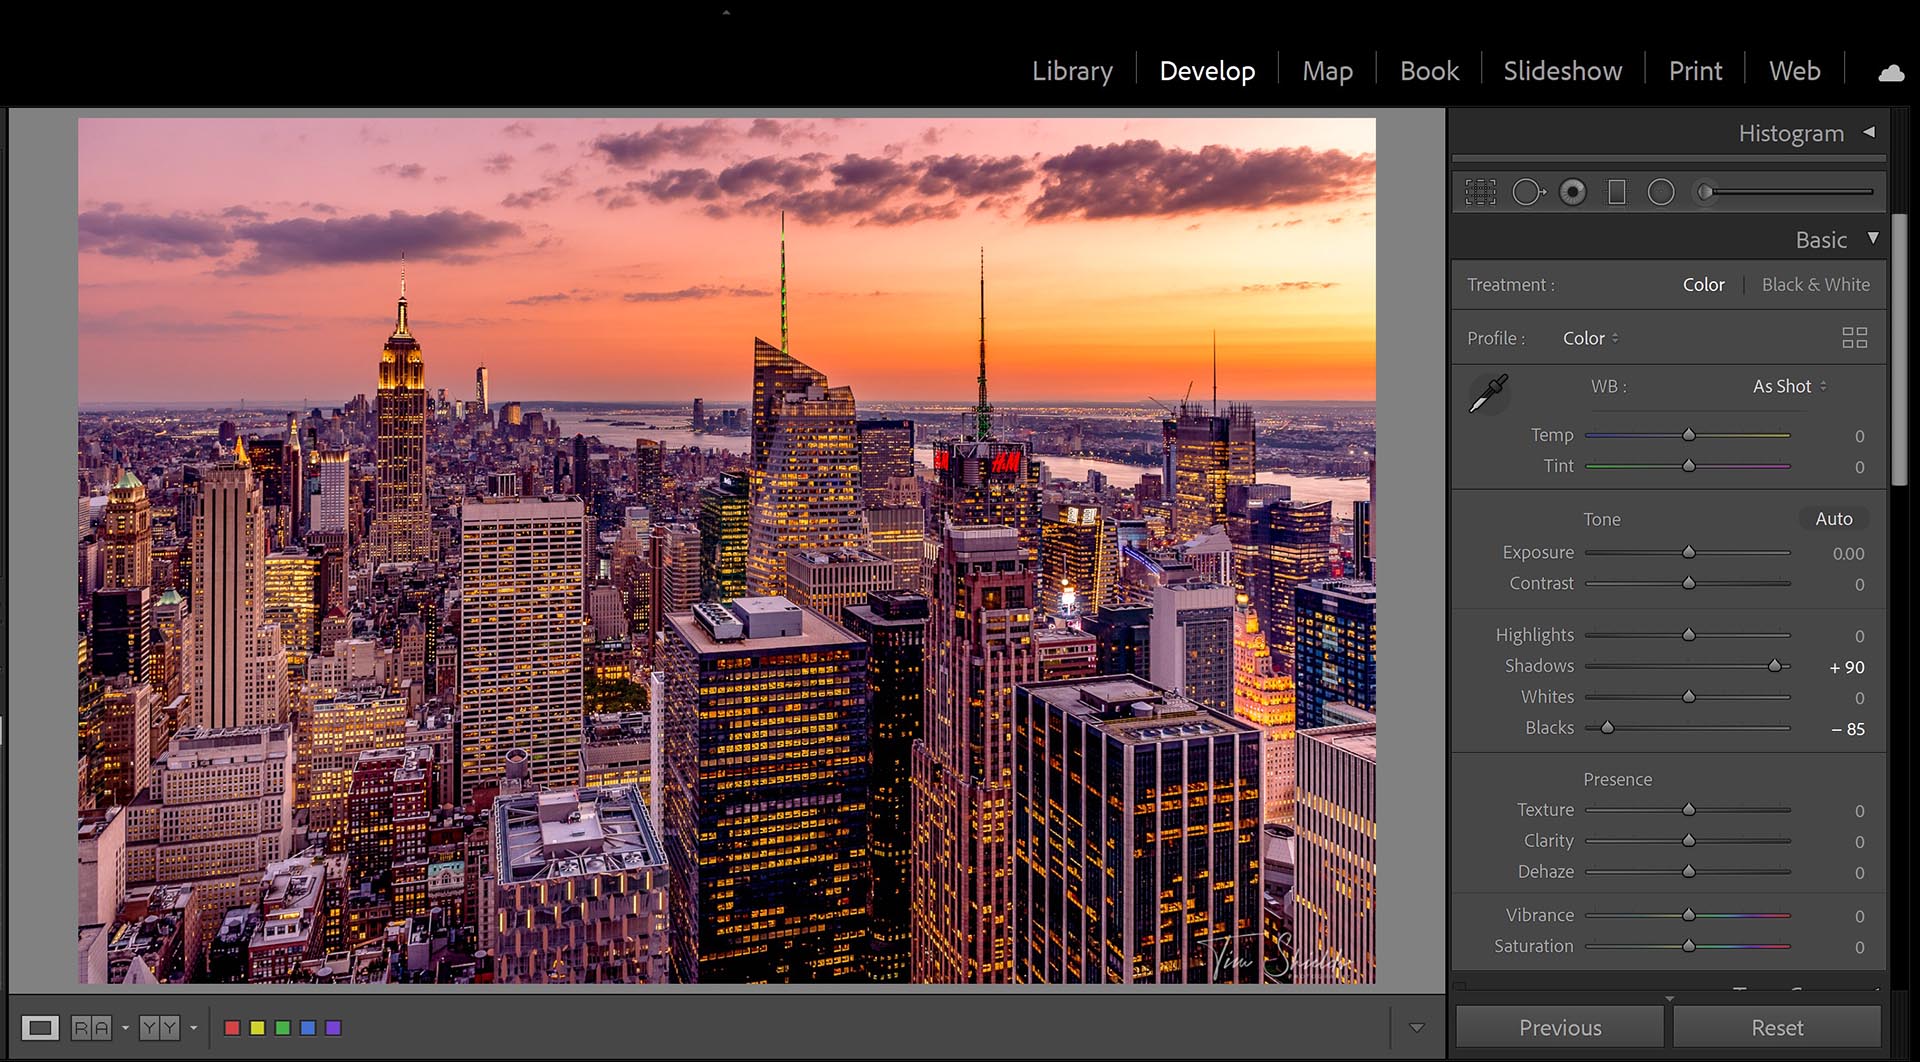
Move the slider to see the difference between just raising the shadows, and raising the shadows, but keeping contrast by decreasing the blacks.
What’s the right way to brighten shadows?
If it’s a small amount, it’s likely okay to just pull up the shadows slider in the Develop module in Lightroom Classic. The amount that you can safely pull the slider to the right depends on a couple of factors. How deep the shadows are in the image. And how much dynamic range your camera can capture. Cameras with more dynamic range will enable further shadow lifting than entry-level DSLRs.
But in every case, there are some considerations to make. Mainly, how do you keep some darker tones so the image doesn’t feel washed out. The easiest way is simply to increase the overall exposure of an image, as that will keep the natural contrast in the tones. But, since it also increases the highlights at the same rate, you’ll likely blow out the highlights.
When you’re increasing the shadows in Lightroom Classic, you will have to return the natural contrast back into the image. Pulling the contrast slider to the right will definitely help. But it might also just darken the same shadowy areas you were trying to fix. The way that’ll give you more control is to use the Blacks slider, which determines the black point. This will make all of the darkest tones in an image darker and brings back some of the definition as well as saturation.
This is one of the simplest and most effective methods. In most cases, just moving the blacks slider to the left after lifting the shadows will have the desired effect. But, with every piece of advice, there are shades of grey. So if this wasn’t perfect for your situation, there are some more options down below.
Using HSL Luminance
The HSL panel has some amazing tools for selectively increasing the shadows. HSL stands for Hue, Saturation, and Luminance, and is used to change the properties of individual colors on the visible spectrum.
One common case is when you’re taking indoor portraits at events. Just like toast always lands butter-side-down, the light source will be behind their heads. So an easy fix is to use the orange color slider in the Luminance section. Pulling that slider to the right will brighten most skin tones in a beautiful way. If that’s not enough, using the color picker, you can pick a spot on the subject’s face, and evenly brighten or darken all the colors in their skin!
If you’re pulling the luminance of color from the shadows into the mid-tones or highlights, it will suffer the same fate as pulling directly from the shadows in the Basic Editing Panel. So, to counteract this, you can also decrease the blacks. Or, for a more targeted approach, increase the saturation of the same colors in the Saturation panel.
You can also use this method to darken the distracting colors in the composition. I wrote more about this, and how color theory can make amazing images in this article.


Using local adjustments to lift shadows
Using local adjustments can help to increase the shadows of the image subject without affecting the other parts of an image. Using brushes, you can use the same adjustments that you have access to in the Basic Editing Panel but only apply them to a selected area of the photograph. This is fun and very useful for creating dramatic and contrasty images.
I’ve written an in-depth article about using local adjustments to dodge and burn an image here.
When should I consider using Photoshop?
When the results aren’t working in Lightroom, Photoshop often has the solutions. Photoshop has some unique tools for dodging and burning that can completely transform an image. My favorite way to increase the shadows is simply using a blank layer set to overlay, and then using a low-opacity white/black brush. Because of the blend mode, painting an area with white will increase the overall exposure rather than just lifting the shadows or blacks. This technique can be extremely powerful, in that it’ll give you more control than a Lightroom local adjustment brush ever can.
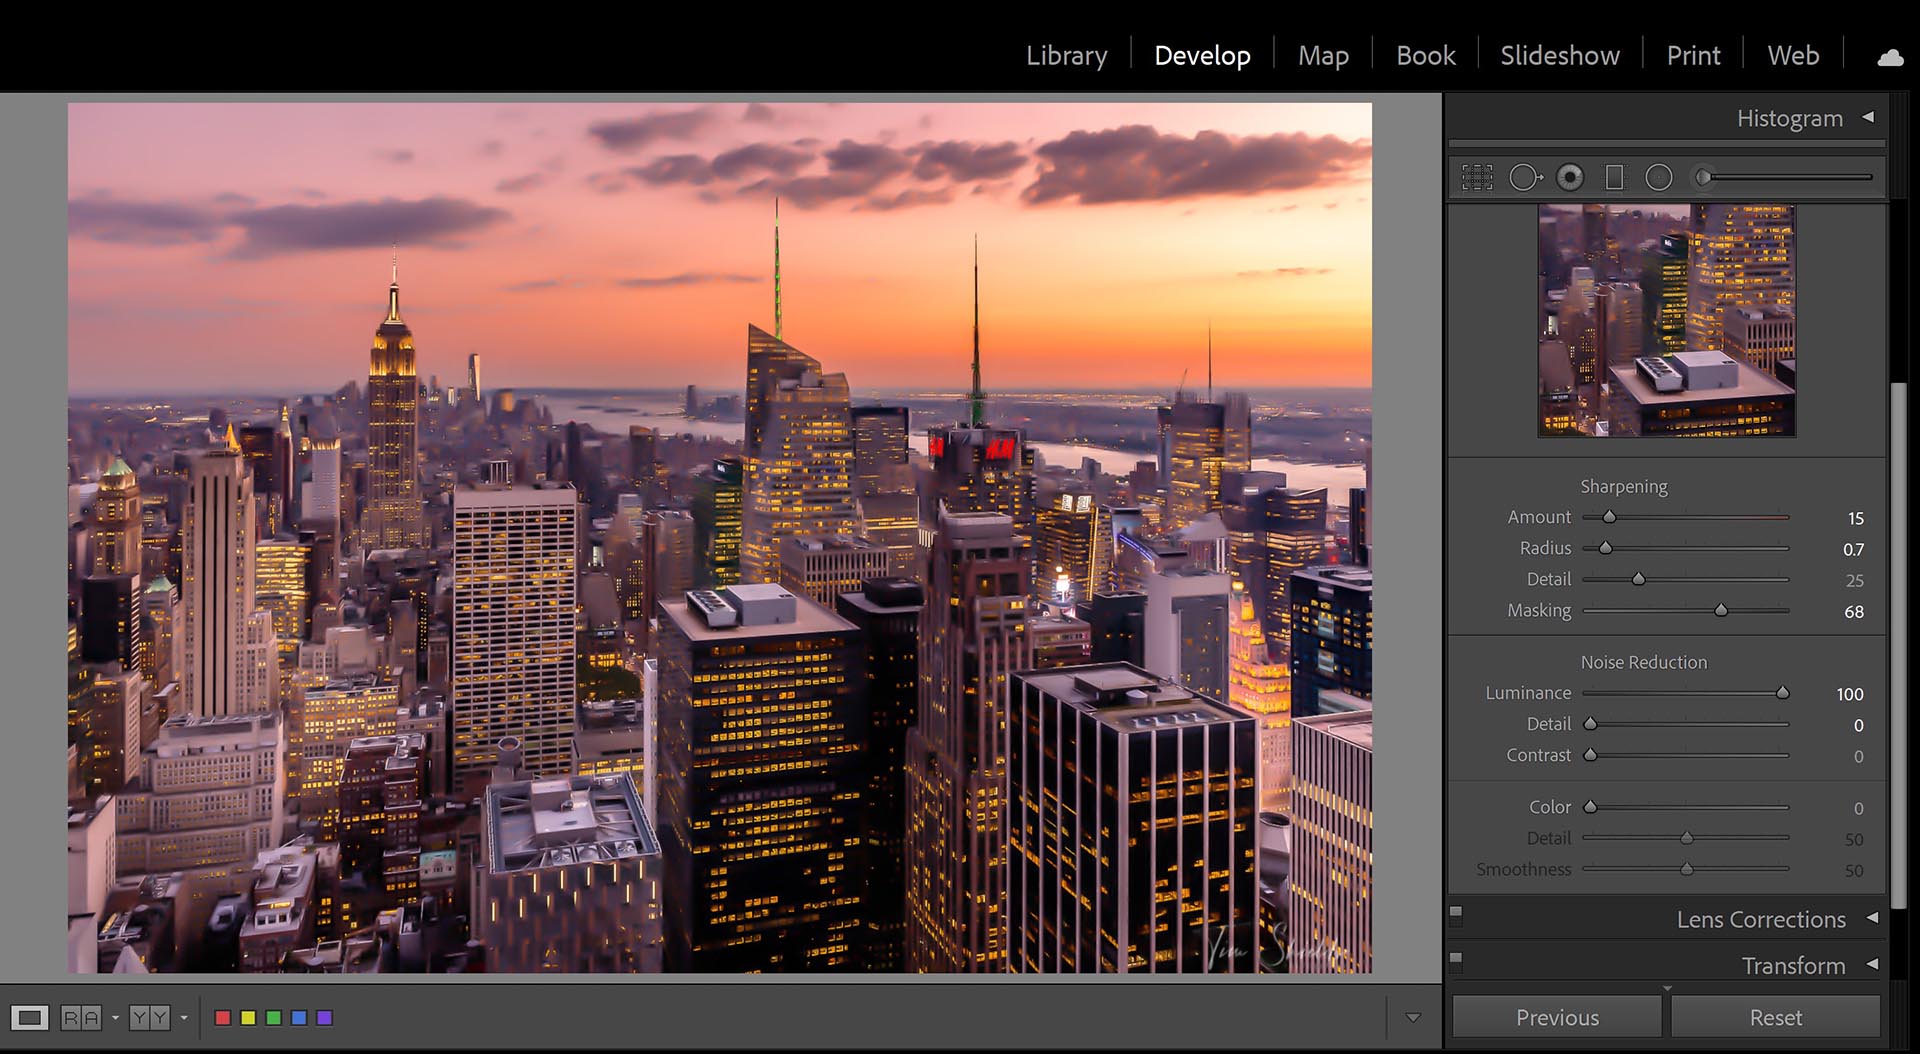

Noise Reduction after brightening shadows
This is one of the most important steps. When you increase the exposure of an image in post-production, you will be adding noise. For some cameras, increasing the exposure in post will add more noise than if the ISO was simply increased when you’re shooting. So it’s often better to increase your ISO rather than fix the exposure in Post Production.
But when this happens, Lightroom does have methods to help you reduce the noise without affecting your image too much. It’s important to note that there is no noise reduction method that doesn’t decrease the sharpness in your image.
The Noise Reduction controls can be found in the Detail Panel in the Develop Module in Lightroom Classic. There are two kinds of controls, Luminance, and Color noise reduction. Luminance will reduce the overall noise in an image, where the Color Noise reduction will simply reduce the bright noise spots in an image.
Each section has a detail and contrast slider below, which will control how much noise reduction is added to the sharp edges of the image. To see how the contrast and Detail sliders help control the Noise Reduction, take a look at the images above. These controls will keep the noise reduction effects from making images appear like they’ve been shot through a lens coated in vaseline like the image on the left above.
How can HDR help get more shadow details and decrease noise?
HDR stands for High Dynamic Range. This technique combines multiple exposures of the same scene to get the most detail possible. It’s especially useful for evening scenes, where modern cameras can’t capture the entire range of highlights and shadows in a single image. If you photograph to show more details in the shadows, you’ll risk blowing out the highlights in a scene. But if you photograph to show the majestic sky, your shadows may be way too dark to effectively recover.
So, by combining two or more differently-exposed images in Lightroom, you’ll have access to all of the information in a given scene. With this, you’ll be able to adjust the contrast and emphasize the right subject.
The added benefit of HDR is that it reduces the amount of noise in an image. Noise is not constant from pixel to pixel. So two photos with the same ISO value will show noise in different pixels. Lightroom uses this information to select the best color for each pixel, effectively eliminating ISO at lower values. There’s always going to be some noise in an image — it’s simply a fact of life that no sensor can have all signal no noise.
If HDR is something that you’d like to try, I’ve written a more in-depth article about how to use HDR to improve your photography here. You can create HDR images with any camera and immediately improve the results. All you need is a tripod, and with this guide, you’ll be able to go off on your own and make incredible images.
Want to learn more about how to create your own Fine Art Landscape photographs?
Over my years as an award-winning fine-art landscape photographer, I’ve learned many techniques for creating stunning photographs. But there’s one system that has defined my photography. This 4-step system is simple, effective, and very easy to put into practice. And I’m giving it away for free in my online web class! Sign up today to learn how to use this system to make better images with the same camera you already have.


